Now that I’ve taken my panorama, I will have to stitch the images together to form one. To do this, I use a program called Hugin (download here). The program is an advanced panorama and image stitcher with a lot of functions.
This blog post is not a tutorial on how to stitch panoramas, rather, it is a list of tips on how you should stitch your panorama.
- Missing lens data? No problem – If you are importing images and a window pops up asking you for the HFOV, it is safe to enter 50 for a standard digital camera. For wide-field lenses, 65-75 is appropriate.
- Pick a good anchor image – An anchor image is a guideline or marker image. It tells the rest of the images “hey, you should follow my exposure (light) level and position”. Pick an image that is correctly positioned and has the right amount of light; in other words, the “perfect” image.
- Picking control points – This is the most important part of stitching a panorama, because it determines how and where the panorama is stitched. Control points are two points in two different images that match.
- Pick clear control points – If your panorama is taken of a forest, then selecting control points in the trees isn’t a good idea, because it’s very hard to pick out those kinds of control points. Try picking control points in power lines, tree trunks, rocks, or any object that sticks out.
- Pick many control points – The more you have, the more accurate your panorama will be. Look for as many control points as possible but no fewer than five or six.
- Pick non-moving control points – Place control points on static objects. Do not put them on people if they are moving, since this causes weird effects like half-people (see this image).
- Pick control points everywhere – Look for control points up, down, left and right. You shouldn’t have a cluster of control points in the middle of two images. Picking control points throughout the image improves stitching accuracy.
- Don’t forget to adjust position and exposure – Hugin can do this automatically in the Optimizer and Exposure tab. In the Optimize tab, select “Position (incremental, starting from anchor).” This will use the anchor as a guideline to correctly adjust the other images in terms of position. In the Exposure tab, select “Low dynamic range” for optimization.
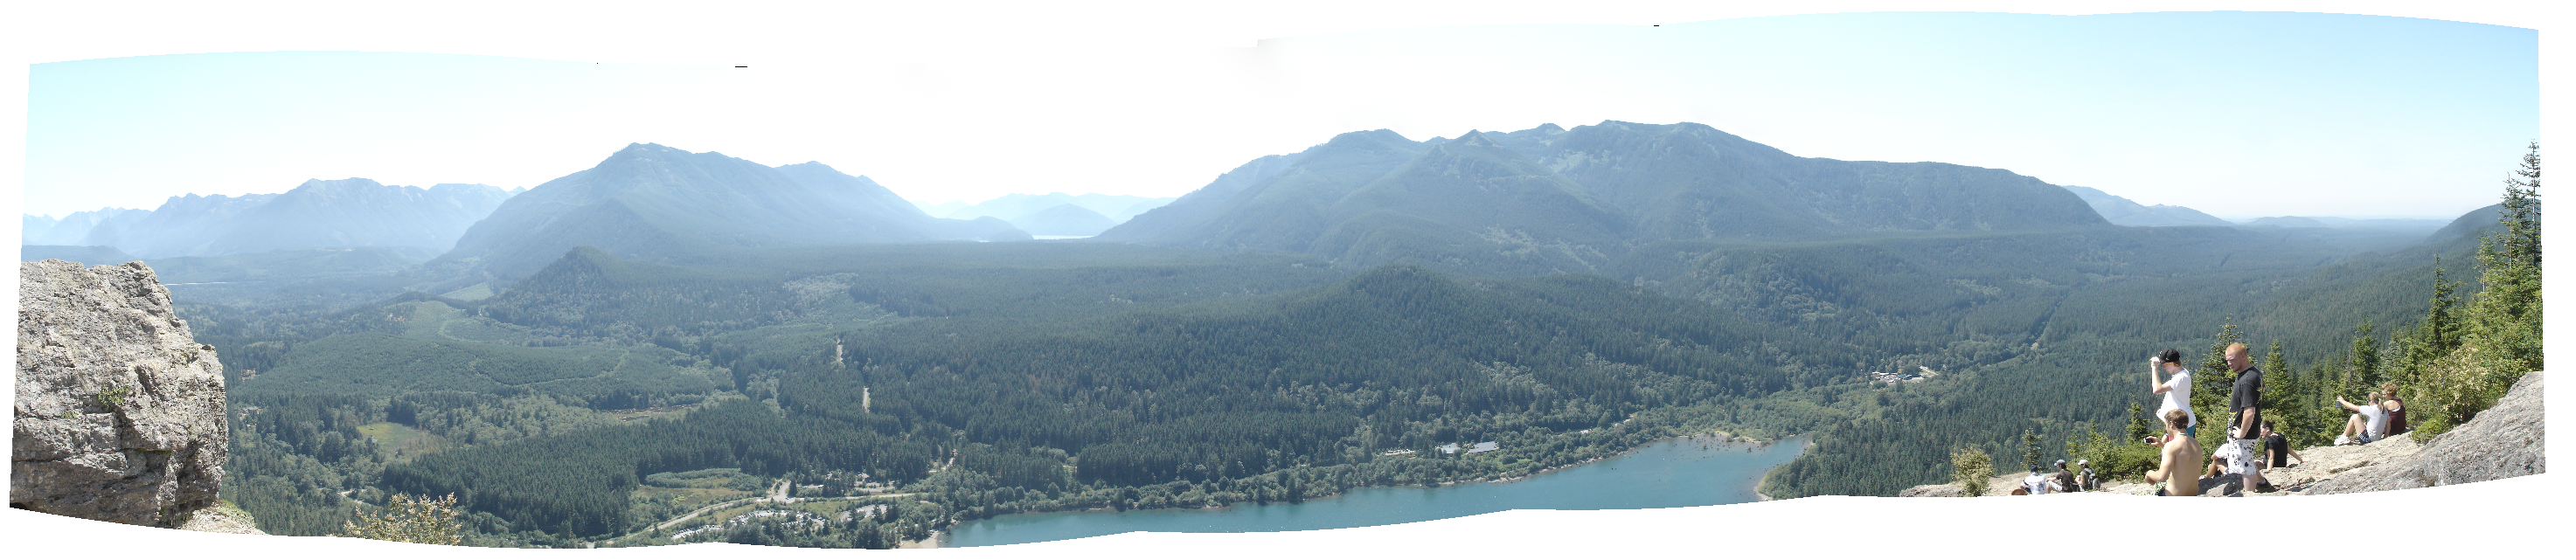
These steps should yield a reasonably good panorama (please see this image for an example).
One thought on “5 Tips for Stitching Panoramas”