I hate fingerprints on glass. So when it comes to fingerprint-free screens, I am an absolute stickler to what kind to purchase. When I got my new touchscreen laptop, I immediately bought a screen protector for it. No disgusting fingerprints this time!
When it comes to screen protectors, most fall into two categories. The first and most common are plastic film protectors, which I will cover in great detail.
Plastic film protectors
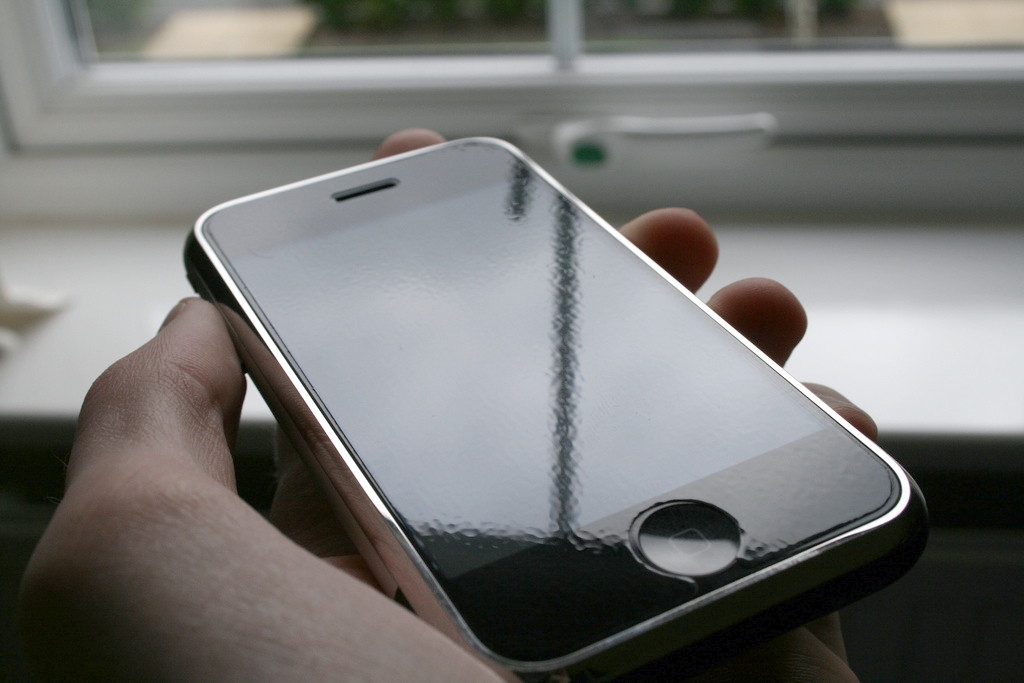
Photo credit: William Hook, Flickr.
The vast majority of smartphone and laptop users will protect their devices with plastic film. Look for plastic screen protectors that will protect against scratches and nasty fingerprints.
The huge downside to plastic film protectors is bubbles. Unless you apply the screen protector in a NASA clean room, bubbles are inevitable. They are caused by minute dust and fiber particles trapped between the film and your screen.
Because of the bubble issue, you must be extremely patient when applying film protectors. It may take several retries across a couple hours to achieve a dust-free cover. The larger the screen, the longer it will take.
Tips for applying
- Find the cleanest room in the house, the one that has the least dust floating around.
- Screen protector kits may come with a special sticky strip to get rid of dust particles on the screen protector. This is very effective for small screens like smartphones. For larger screens, see the next tip.
- If you have a sticky tape lint roller, those help enormously in ridding dust particles. Lay the static side face up and roll the lint roller over the surface several times. This approach is massively effective.
- Wipe your screen several times with a microfibre cloth to get the dust off. If you have a larger microfiber cloth, those are usually more effective than the small cloth that comes with the screen protector kit.
- Aligning the screen protector perfectly on top of the screen can be a challenge. I recommend aligning the long side; the rest will take care of itself.
Even after wiping your screen like crazy, there’s still a good chance that at least one dust particle will get in the way and make a bubble. Don’t panic; most dust bubbles can be eliminated.
Getting rid of bubbles
Applying the screen protector isn’t too difficult, so I won’t go over this topic in this article. Getting rid of bubbles, however, is a different story.
- For most small bubbles, you can get rid of them by forcing them to the edges of the screen protector.
- My recommended technique for getting rid of bubbles is to use your thumb nail and the microfiber cloth that comes with it. With the cloth between your finger and the screen, push the bubble with your nail toward the edge of the screen. If the bubble has not disappeared, repeat this procedure. When the bubble disappears, it means either there was no dust there in the first place (just a microscopic imperfection), or the dust particle has been tightly trapped under the protector. In the latter instance, you don’t have to worry too much about picture quality. Small dust particles are virtually unnoticeable.
- If the bubble does not disappear after several attempts, that’s a sure sign of a pretty big dust particle. Lift your screen protector just enough to expose the bubble. Then, apply a piece of tape or lint roller paper to the underside of the protector. Press the protector against the screen as if you were applying it. Then, peel the tape away from the screen protector. The dust particle should be gone
- It is very important to have patience when getting rid of bubbles. For me, the process of getting rid of bubbles took about an hour and a half in total, but in the end, I got every single bubble out and the screen protector looks great on my laptop.
Two types of plastic protectors
There are two main types of surfaces with plastic screen protectors: matte and clear. Each has its own advantages and disadvantages.
Matte
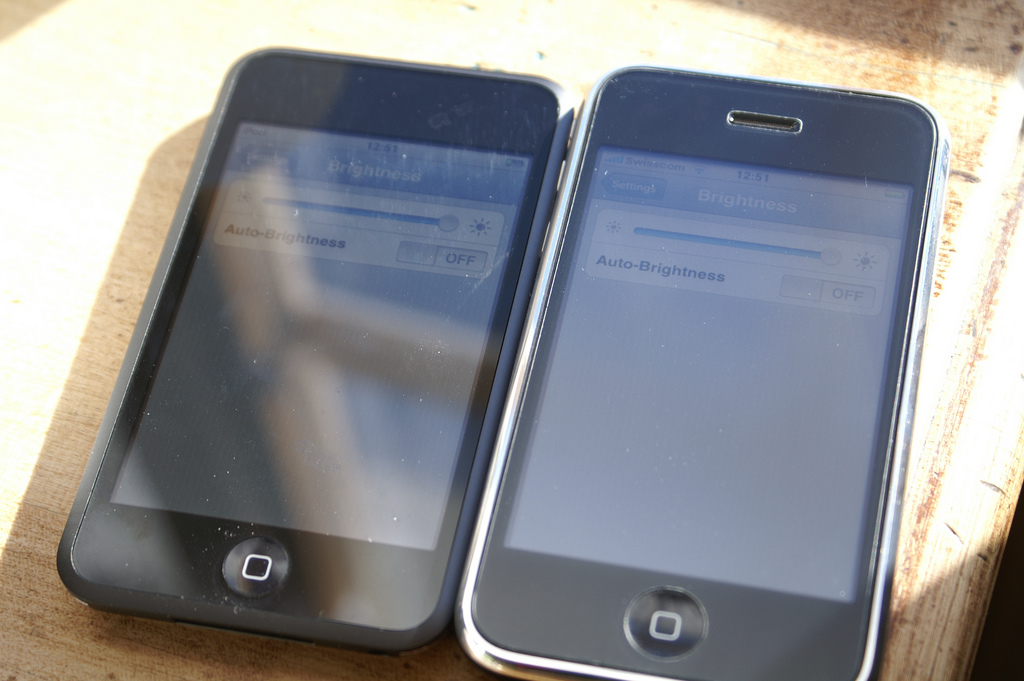
Photo Credit: Lukas Mathis, Flickr.
This kind of surface is very effective at reducing glare from light sources, as well as fingerprints. Unlike glass, it scatters light in all directions, so that you only see a blurred reflection of the light. This is my material of choice when I have to work outside or in a room with a lot of lighting. With a matte screen protector, you don’t see the annoying reflections of light sources or people walking behind you.
A huge trade-off with matte is that it diminishes the picture quality (and to a lesser extent, the brightness) of your screen. In the first day, you will notice a decrease in contrast and vividness of color. After a while, though, your eyes will get used to it and there will be no noticeable difference.
Clear
The biggest asset with clear screen protectors is that they do not diminish the picture quality as much as matte. Because they reflect light instead of diffusing it, the light that reaches your eyes from the monitor through the protector appears as if there was not a screen protector there.
However, since clear screen protectors mimic the glazed, reflective surface of the laptop, you will definitely notice more fingerprints than compared to a matte protector. Even the marketed “anti-fingerprint” clear protectors are still subject to fingerprints. The name “anti-fingerprint” simply means it’s easy to wipe off any fingerprints.
Spray-on screen protectors
The greatest asset of spray-ons are that they eliminate the frustrating air bubbles that come with installing plastic screen protectors. Personally, I have never used a spray-on, so I will leave the debate and discussion to your research.
Touchscreen quality
You may have heard that applying a screen protector can diminish the sensitivity of the touchscreen. For me, this was a huge concern, as I was buying the product for a touchscreen laptop. To ensure that your screen protector does not interfere with touch screen responsiveness, I recommend getting a protector made with PET film. Since applying my screen protector, I have noticed almost no difference in the quality of my touchscreen.
More tips
If you want coverage for the entire laptop display, not just the lit portion of it, look into getting a screen protector made especially for your laptop model. If you get a generic one-size-fits-all-13.3″-inch, then chances are it’s not going to cover all the glass on the display. Of course, if your only concern is covering up the lit portion, then generic screen protectors are usually less expensive.
If your laptop has a webcam, make sure that your screen protector has the appropriate camera, microphone, and light sensor holes. Screen protectors without such holes can compromise the quality of the webcam.
For those that are curious, I use the Evecase Clear & Anti-Glare Screen Protector, which can be bought off of Amazon and is eligible for Prime shipping.
thank you for the tips.. It really helpful
Thanks for the tips. Am about to get a screen protector. Really helpful
Thanks for the tips! Got rid of my bubbly screen protector and applied a new one finally 🙂